
| This post originally appeared on the Rittman Mead blog. |
Oracle distribute the new OBIEE SampleApp as a VirtualBox image, but it is dead easy to run it on VM Fusion instead. Here’s how:
-
Unzip the SampleApp archive files, and import the OVF to VM
-
Add and amend network adaptors if required. I always use three:
-
a host-only network private to my Mac and any other VMs running
-
NAT
-
Bridged
-
-
The first means I can always work with the VM from my Mac (SSH, web, etc) regardless of external network changes. The second two, NAT and Bridged, cover internet access out from the VM (software updates, etc) for 95% of situations.

-
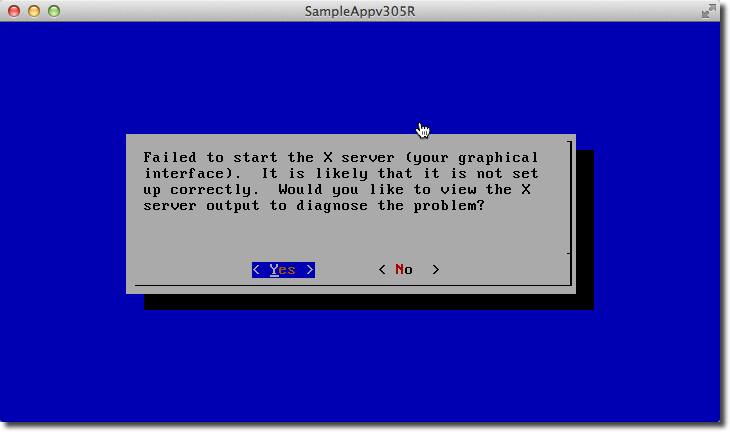
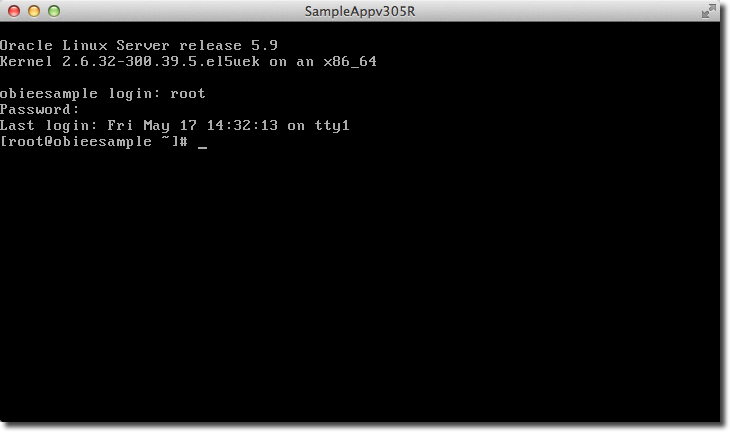
Boot up. Expect to get X server error (because VMWare has a different video driver to VirtualBox). Keep selecting No, until you get to the console
-
Login as root/root
-
Remove the VirtualBox additions services:
-
List the VirtualBox additions services
chkconfig --list|grep vbox -
Disable VirtualBox additions, as root:
chkconfig --list|grep vbox|awk '{print $1}'|xargs -I'{}' chkconfig --del {} -
Confirm they’ve been removed:
chkconfig --list|grep vbox+ image::/images/2013/06/06695sa_04.png[]
-
Install VM Tools
-
Select “Update VMWare Tools” from VM Fusion menu
-
Mount the CD image on the guest
mkdir /media/cdrom mount /dev/cdrom /media/cdrom -
Copy the installer to the guest
cp /media/cdrom/VMwareTools*.tar.gz /tmp -
Unpack the installer
cd /tmp tar xf VMwareTools*.tar.gz -
Run the installer. Go with all the defaults given.
cd vmware-tools-distrib/ ./vmware-install.pl -
Reboot the VM.
reboot -
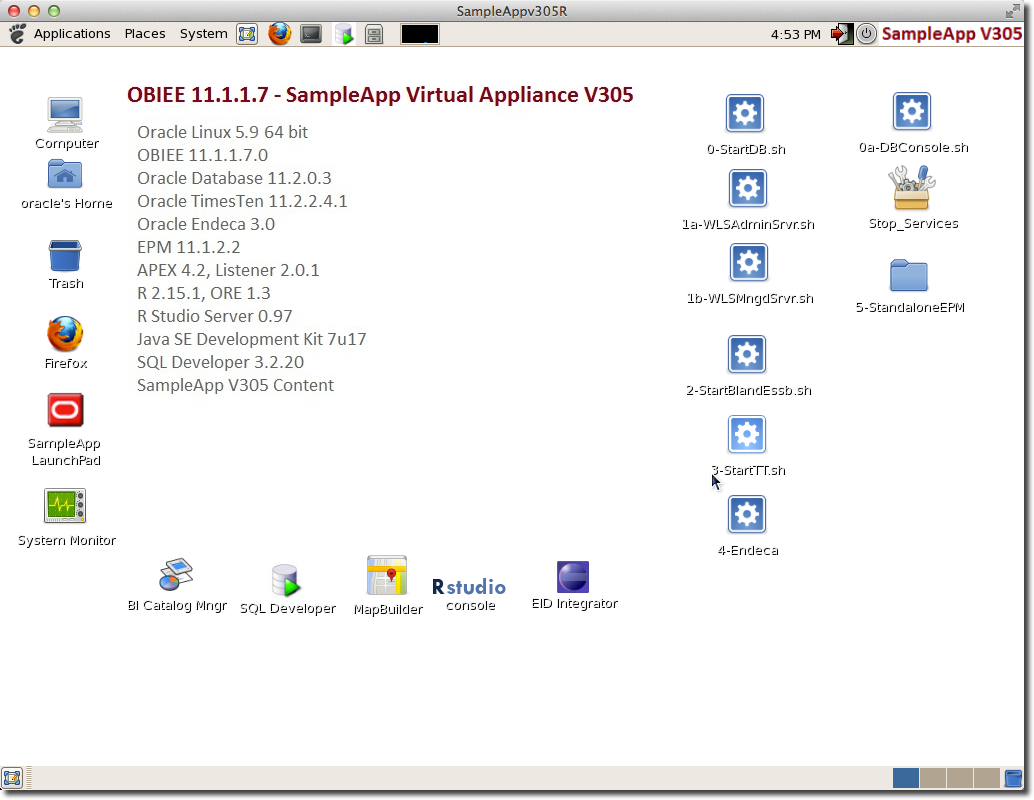
On reboot, the VM should startup to the graphical (GNOME) Desktop
Pimp my server 🔗
This is all optional, but steps I run on a new server instance to get it how I like it:
-
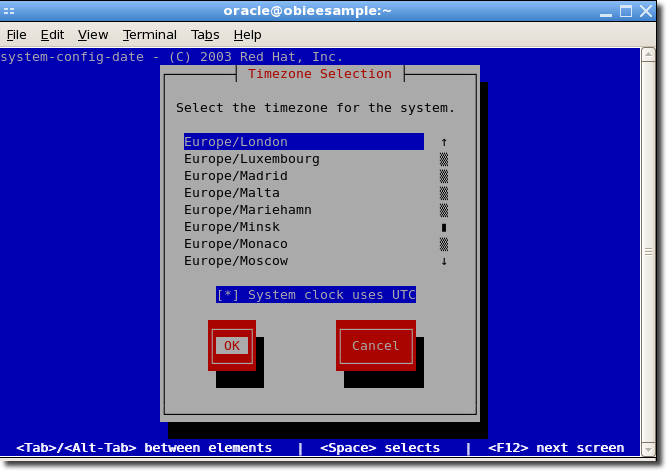
Open a terminal window and run setup
sudo setupFrom here you can amend setting for things such as the keyboard layout, timezone, and networking. You can also use the desktop GUI tools to do this if you prefer
-
Add your public SSH key to
~/.ssh/authorized_keysto enable connecting over SSH without entering a password each time -
Create
~/.screenrc(screenis already installed on SampleApp. See this post for details of what screen is and why it is so useful).hardstatus alwayslastline "%{= RY}%H %{kG}%{G} Screen(s): %{c}%w %=%{kG}%c %D, %M %d %Y LD:%l" startup_message off msgwait 1 defscrollback 100000 nethack on
-
Add EPEL yum repository:
wget http://www.mirrorservice.org/sites/dl.fedoraproject.org/pub/epel/5/i386/epel-release-5-4.noarch.rpm sudo rpm -i epel*.rpm -
Update all packages
sudo yum update -y -
Set the OBIEE and DB instances to start automagically at bootup, using init.d script such as these
| This post originally appeared on the Rittman Mead blog. |